Showing posts with label sock yarn. Show all posts

Christmas frenzy :: Knitting ::

Wednesday, 9 December 2015

* You can still enter my current knitting pattern giveaway here*


Happy Wednesday everyone! Well, I am knitting non-stop, or it feels that way. I should really be finish projects I have started - including this bowtie scarf (someone's request) - except that I am starting new projects rather than finishing projects. So I am knitting a few projects at the same time, thankfully there all involve garter stitch and the patterns are easy to follow. Still it is hard to choose one to pick up when I get some knitting time!

Also do you find that you have a lot of single sock skeins in your stash, or is it just me? I have many, and was not sure what to do with them. But instagram came to my rescue, and Masgot I had to knit. You need 3 different skeins of sock/fingering yarn! I love the shape of this shawl/scarf, it gives an oversized scarf look but can also be worn as a shawl. It grows width-wise very quickly. I wanted the shawl to be soft around my neck, and decided to use skeins that were a blend of Alpaca and Cashmere. I bought the skeins on Etsy from here and here - both shops are based in the UK. 


I hope I will be able to give it as a present - and not keep it, otherwise I will have to start yet a new project! Also I'd better be getting on with more knitting, if I want a chance to also fit in a beanie hat for Mr MiH's Christmas. 

What are you all knitting? I am linking up to Ginny's today. 

The Southern Shawl - GIVEAWAY {Knitting}

Wednesday, 24 June 2015


This is Libby's latest design - the Southern Shawl. I did not post anything about it (it was all very secretive), except for my choice of yarn I think. It is actually quite hard not to post anything about a current WIP, I did not realise how much instagram is part of my craft process. 


The shawl is worked as an asymmetrical triangle and the body is alternating rows of stockinette and reverse stockinette so it looks almost identical on both sides. I absolutely love the texture of it - how you can achieve a stripey look without changing yarn. The pastel colour works great with this sort of pattern.


The yarn is a lonely skein from my stash that I have had for ages (whoohoo to get rid of lonely skeins!) - it works beautifully with this pattern. I am not really sure what project I had in mind when I first bought the skein, but it is definitely what it was meant to be. And now my Grandma will be able to enjoy it, as I knitted it for her!

Pattern: Southern Shawl by Truly Myrtle designs (available here)
Yarn: one skein of Alpaca Silk Cashmere Sock Yarn in dusky rose 
hand dyed by WharfedaleWoolworks (from my stash)
Needles: 3.75mm
Modifications: None


Did I mention a giveaway, so I did ..You have 3 chances to enter this giveaway:

1. The giveaway is open only to my followers  - old and new. 
Let me know how you follow my blog in the comment box.
2.Follow me on twitter, and tweet about the giveaway - and mention @noaslibellule 
(and let me know you did in the comment box)
3. Follow me on Instagram (natmadeinhome) and post the picture of the shawl (or regram my post) 
and come back to leave me a third comment

The giveaway ends Wednesday 1 July at 5pm (UK time). Please, please, please leave me a way to contact you if you are a no-reply blogger. Good luck!

Libby also has a discount code on this pattern (available until tomorrow) if you wanted to buy it!


Natural Dyeing | The Result

Wednesday, 17 September 2014

I think I am a convert to natural dyeing. I did not know what to expect when I started or during the process for that matter. But I am in love with the result. Look at the shades of yellow and brown throughout the yarn, it is subtle but will add a lot of interest. 


I am not going to lie, it was not the easiest process to wash away all the natural dyes stuff I used, and even though I tied the skein together it was not as easy to put it around my yarn winder (I should have tied it in more places) - but I only had to cut the yarn in one place, that's not bad going. But clearly a few things to think about for the next time, because there will be a next time

I am now knitting this - yes I have many WIPs already, but I could not resist, I just had to know what it looked like knitted! This is the beanie hat pattern I have chosen, expect a finish soon (or not as I am knitting in 3 mm, not my most favourite size). 

To see all the other WIPs, head to Ginny's yarn along

I got my kit from Spin City UK if you too are interested in trying it out. 


The WIP before the WIP | Natural Dyeing

Wednesday, 3 September 2014

*For a chance to win one yard of organic cotton fabric dyed naturally
please make sure you enter the giveaway here*

Natural dyeing is something I have been wanting to try for a bit of time, but I had no idea how/where to start - and what was required of me. I have dyed wool (quite successfully) before, but not using natural dyes. As my readers will know I am totally committed to find organic and naturally dyed craft supplies - and of course one way to do this is actually do it myself. Easy to say... harder to put into practice. 

I have been really impressed (jealous?) by Liesl who has had amazing results with natural dyeing, but every time I was wondering how I would manage to do this without Baby MiH going straight into the dye bucket, and in fact how to find enough of the natural dyes.  


 So when I found a natural dye kit on Etsy (from a British Etsy seller as well), I jumped at the opportunity to try natural dyeing without too much effort on my part. The kit contains the plastic jar (reusable) that you can see, the mordant, three natural dyes and the yarn (an organic merino blend sock yarn, around 400 yards of it). 


I chose a brown/yellow dye kit as with the Autumn coming, these will be the colours I am going to be drawn to most probably and want to knit. Also I figured that it should go with any pattern I chose to knit - I am wondering if it will be my first pair of socks or maybe a beanie hat and mittens...  


I opened the kit last Friday, and I know there are a few pictures here, but it took probably only half an hour to make it all - the longest part being to separate the skein into two equal parts to (hopefully) get a variegated effect. 


And this is the colour I am seeing at the moment, the bottom is definitely more brown - so it should be interesting to see how it comes out. And this is one big lesson about natural dyeing, I have actually no idea how it will come out - I know the general colour scheme but not how it is actually going to look like once knitted. 

On the instructions you are advised to leave the dye to work for at least 2 weeks - but I am already desperate to just open the pot and see how it is. However I do have a lot of WIPs going on and I have decided that I will leave the jar to rest until I have the capacity to start a new knitting project (so that is probably in 4 projects' time) - and who knows how the colour will be then. How exciting!  I can see why it is so difficult to find companies that do natural dyeing on a larger scale though. 


To help me through the process of naturally dyeing, and try to have more certainty about what is going I have bought Wild Colour by Jenny Dean. At the moment I am using it as an inspiration guide, and have not gone out to actually find the natural dyes. But I am really excited about this part as well. 


It will be fun to try to identify the plants in the wild and experiment with the flower, leaves and stems. 

I know some of you have already tried naturally dyeing, how did you find the process? Will you try again? 

Linking up to Ginny's today

Project Destash #2, My favourite doily yet | Free Pattern {Crochet}

Wednesday, 16 July 2014


There will not be many pictures in this post - as this is my favourite picture of the doily. I took it as soon as I had finished blocking it and immediately shared it on social media (facebook, twitter, IG - all of them, I just had to share the love). 

The free pattern is based on a pattern I found on Pinterest - and unfortunately did not pin. There were a few mistakes in the pattern, but it is pretty much the same pattern, cleaner. 

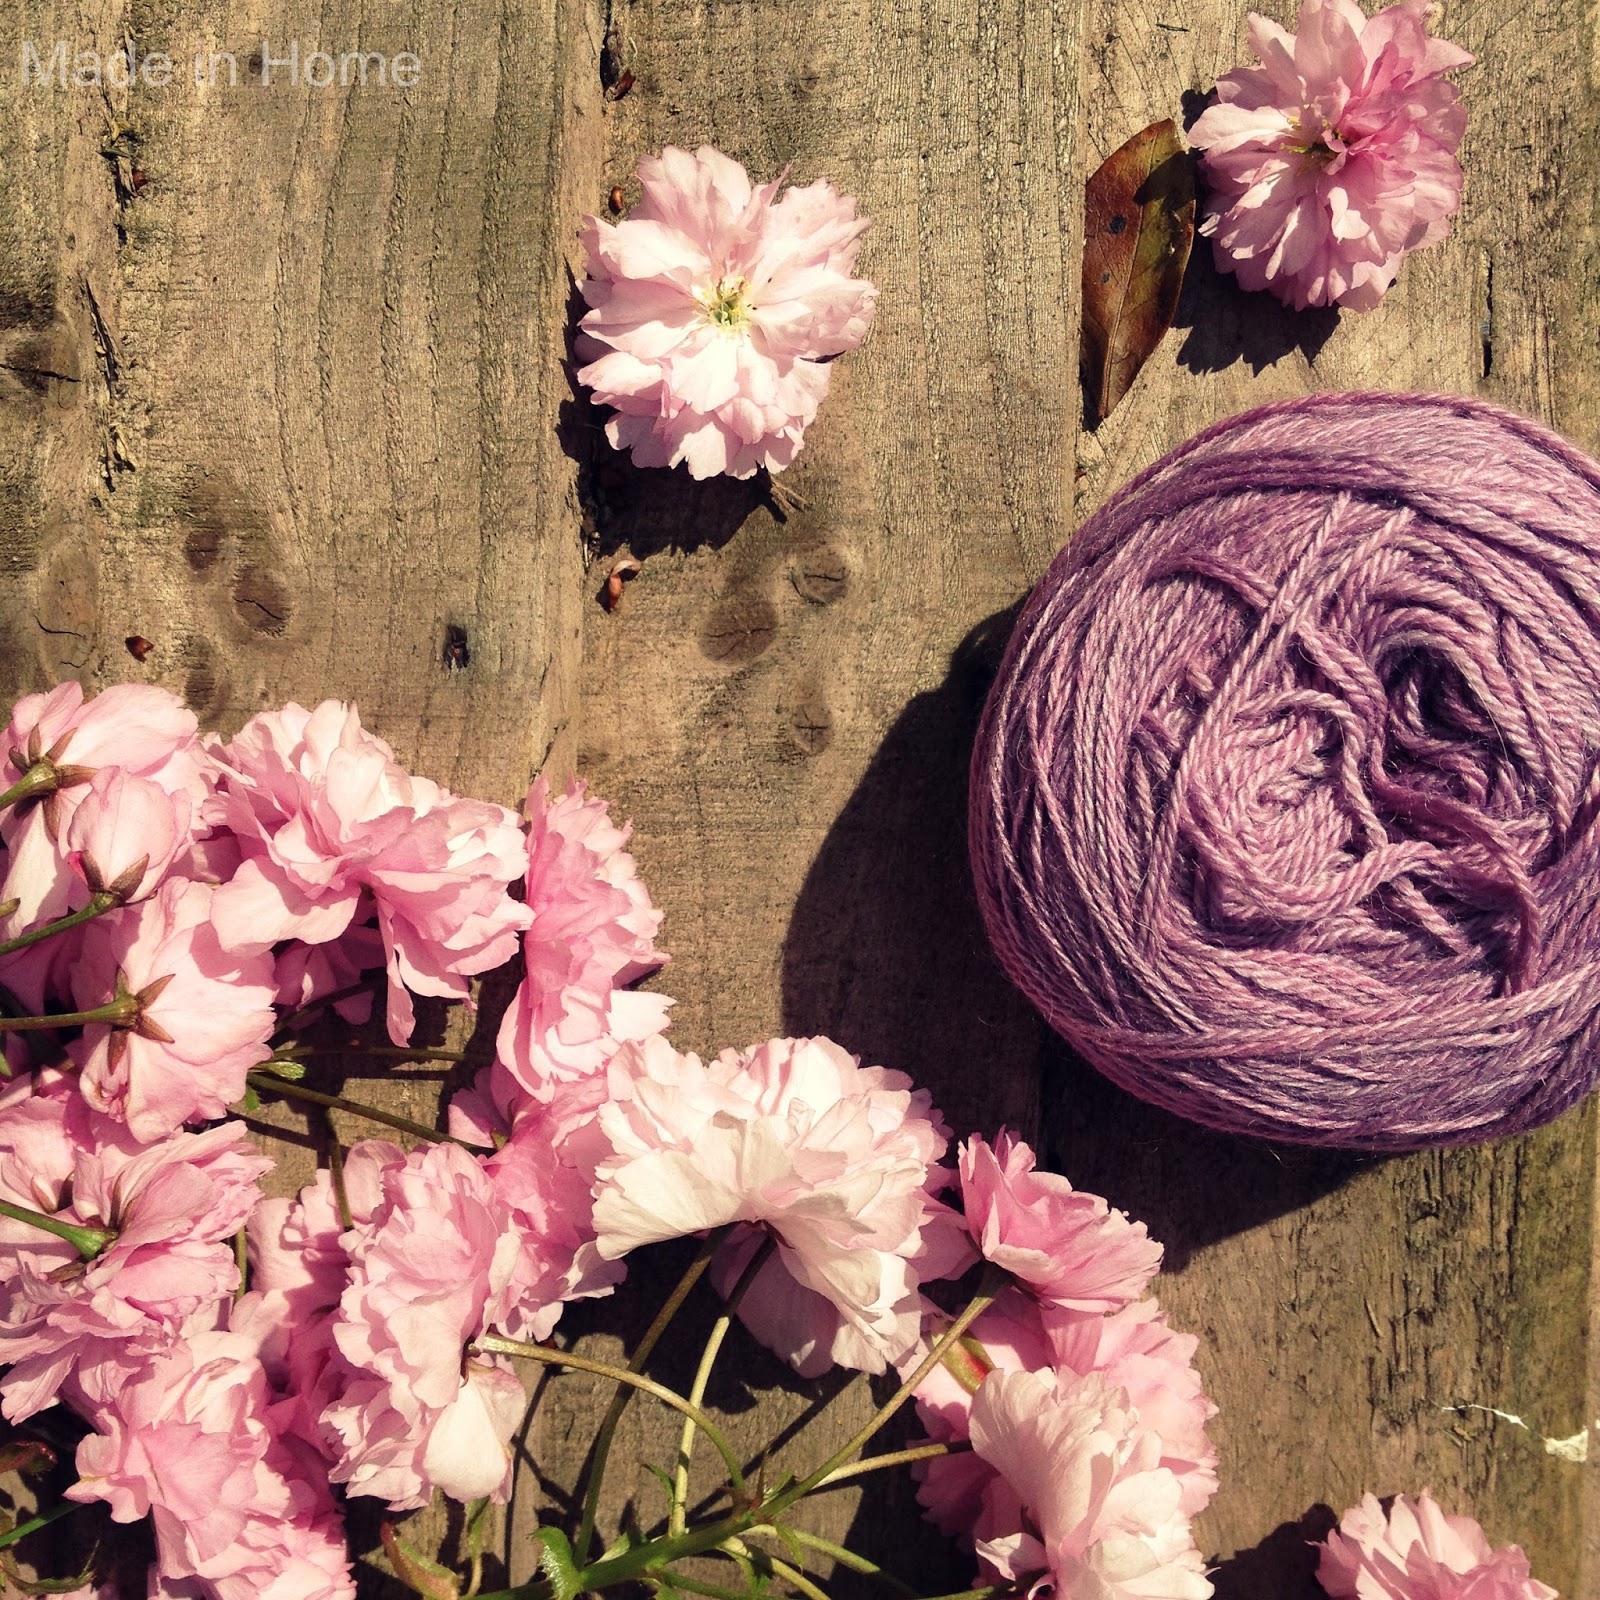
So I used a 2 mm crochet hook, and a grey sock yarn. 

The abbreviations are as follows:

Single crochet decrease (sc-dec): Pull up loop in each of next 2 sts, yo and pull through all 3 loops on hook.
Double crochet Decrease (dc-dec): (yo, pull up loop in next st, yo, pull through 2 loops) 2 times, yo, pull through all 3 loops on hook
Treble Crochet Shell (tr-shell): (3 trc, ch 3, 3 trc) in sp indicated
Double Crochet Shell (dc-shell): (3 dc, ch 3, 3 dc) in sp indicated
Picot: Ch4, sl st in 4th ch from hook, ch 1

R1: Ch 8, join to form ring, ch 3, dc in ring, ch 2, (2 dc in ring, ch 2) 7 times, join
R2: Sl st in next dc and into next ch-2 sp, ch 3, 3 dc in same sp, ch 2, (4 dc in next ch-2 sp, ch 2) 7 times, join
R3: Ch 3, dc in next dc, ch 2, dc in next sp, ch 1, *dc in each of next 2 dc, ch 2, dc in each of next 2 dc, ch 1; rep from * around, join
R4: Ch 3, dc in next dc, ch 2, 2 dc in next sp, ch 2, *dc in each of next 4 dc, ch 2, 2 dc in next sp, ch 2; rep from * around ending with dc in last 2 dc, join
R5: Ch 3, dc in next dc, ch 2 , 2 dc in each of next 2 dc, ch 2, *dc in each of next 4 dc, ch 2, 2 dc in each of 2 dc, ch 2; rep from * around ending with dc in last 2 dc, join. 
R6: Ch 6 (counts as dc, ch 3), skip next dc, dc in each of next 2 dc, ch 3, dc in each of next 2 dc, ch 3, skip next dc, *dc in next 2 dc, skip next dc, dc in each of next 2 dc, ch 3, dc in each of next of next 2 dc, ch 3, skip next dc; rep from * around ending with dc in last dc, join with sl st in 3rd ch of beg ch-6. 
R7: Ch 6, skip next ch-3 sp, 7 trc in next ch-3 sp, ch 5, skip next ch 3 sp, *sc-dec next 2 dc tog, ch 5, skip next ch-3 sp, 7 trc in next ch-3 sp, ch 5, skip next ch-3 sp; rep from * around ending with sc in last dc, join with sl st in first ch of beg ch-6. 
R8: Ch 1, sc in same st, ch 3, (2 dc, ch 1) each of next 6 trc, ch 1, 2 dc in next trc, ch 3, *sc in next sc-dec, ch 3, (2 dc, ch1) each of next 6 trc, ch 1, 2 dc in next trc, ch 3; rep from * around, join. 
R9: Sl st in next 3 chs and into next dc, ch 2 , dc in next dc, ch 3, (dc-dec next 2 dc tog, ch 3) 5 times, dc-dec next 2 dc tog, ch 1 * (dc-dec next 2 dc tog, ch 3) 6 times, dc-dec next 2 dc tog, ch 1; rep from * around, join sl st in first dc. 
R10: Sl st into next sp, ch 3, 3 dc in same sp, ch 2, (4 dc in next sp, ch 2) 4 times, 4 dc in next sp, *4 dc in next sp, ch 2, (4 dc in next sp, ch 2) 4 times, 4 dc in next sp; rep from * around, join. 
R11: Sl st in next 3 dc and in next sp, ch 4, (2 trc, ch 3, 3trc) in same sp, ch 3, sc in next sp, ch 3, tr-shell in next sp, ch 3, sc in next sp, ch 3, tr-shell in next sp, * (tr-shell in next sp, ch 3, sc in next sp, ch 3) 2 times, tr-shell in next sp; rep from * around, join. 
R12: Sl st to next sp, ch 3, (2 dc, ch 3, 3 dc) in same sp, ch 3, sc in next ch-3 loop, picot, sc in next ch-3 loop, ch 3, dc-shell in next tr-shell, *dc-shell in next tr-shell, ch 3, sc in bext ch-3 loop, puicot, sc in next ch-3 loop, ch 36, tr-shell in tr-shell, ch 3, sc in next ch-3 loop, picot, sc in next ch-3 loop, ch 3, dc-shell in next tr-shell; rep from * around, join. 
R13: Sl st to next sp, ch 1, (2 sc, ch 3 , 2 sc) in same sp, ch 3, sc in next ch-3 loop, picot, sc in next ch-3 loop, ch 3, (4 trc, ch 5, sl st in 4 th ch from hook, ch 2, 4 trc) in next tr-shell, ch 3, sc in next next 3-ch loop, picot, sc in next ch-3 loop, ch 3, (2 sc, ch 3, 2 sc) in next dc-shell, ch 5, sl st in 4th ch from hook, ch 2, *(2sc, ch 3, 2 sc) in next dc-shell, ch 3, sc in next ch-3 loop, puicot, sc in next ch-3 loop, picot, sc in next ch-3 loop, ch 63, (4 trc, ch 5, sl st in 4th ch from hook, ch 2, 4 trc) in next tr-shell, ch 3, sc in next ch-3 loop, picot, sc iun next ch-3 loop, ch 3, (2sc, ch 3, 2 sc) in next dc-shell, ch 5, sl st in 4th ch from hook, ch 2; rep from * around, join and fasten off. 

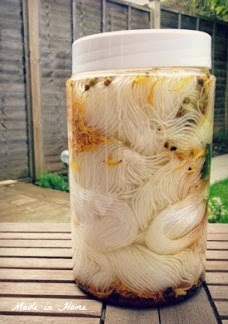
And now enjoy the blocking process - I love blocking lace projects, the lace just totally comes alive. I am on my second one now... I think I might be addicted... 


Linking up to Ginny's today - to show all the other yarn-related finishes and WIPs click here

And as always let me know if you have used the pattern, and show me your versions! 

African Addition {Crochet}

Tuesday, 21 May 2013

I checked when I pinned this crochet flower - that was a year ago. Since then, I worked out that the Flickr title meant African flower - and that this was in fact a well-known crochet pattern. We were on... except that making a blanket out of crochet flowers is a doomed project at mine - I just do not have the stamina. And then I found a (free) pattern for a pincushion, that was totally up my street - a free quick pattern, hurray!

All I needed to do was: sit down, choose the colours and start crocheting. And once I had started, that was it. Started this morning, finished tonight - and I managed to get rid of two pincushions in the process. 


The basis of the pincushion is the African flower pattern that is used in very different ways - for bags, balls, blankets etc. I used 4 different colours - I did not go for flower colour schemes so that it could fit with my (future) hobby room, but also could accommodate all the colourful pins I have. 


I used sock yarns - so useful to have in your stash - in double, hook size 4 mm to ensure that the pincushion was big enough. The body of the pincushion colour is the same as the central pattern. 


I followed the pattern except for adding two ridges at the beginning of the body - I did add the ridge in the body of the pincushion. It is a very well written pattern - if you need to check what double crochet (UK) is, you can find a helpful tutorial here (I seem to always forget). 


I love how big it is - how it is sort of 'sectioned' so that I can put different pins in different places. It is a great in-between project that is really useful! 

Bookmark {Crochet}

Monday, 22 April 2013

I get quite upset when I have to fold corners in books. Fortunately there is always a supermarket/train/flight ticket available somewhere ... And I suppose this shows that I still believe in books rather than reading ebooks (I cannot do it, I tried, but let's face it, it is not as easy to go to the end and read the end - yes I do that too). 

Anyway to celebrate the fact that I am reading an actual book (be it a children's book - a book is a book), I made myself a fancy new bookmark - which is an ideal last minute present!


The pattern is based on the fan bookmark pattern. I made a few changes and it is easier for me to explain by copying and pasting the original pattern and highlighting my changes. So here it goes (English instructions).. 

Leaving a 10cm thread join make 6 ch and join with a sl st to form a ring.

Fan 1
Row 1. Into loop work: (1dc 2ch) counts as first treble, 13 tr (14 in all) TURN.
Row 2. Work (1dc 2ch) into first treble, work 1ch 1tr into each tr of row 1. (= 14tr and 13 1ch spaces) TURN
Row 3. Working into 1 chain space of row 2, make (1sc, 3ch, sl st in first ch, 1sc) 11 times. (This forms a picot). Into the next (11th space) work 1dc, then 3ch , skip 2 spaces and work 1dc into 2nd ch of first tr post of row 2. TURN. (This completes fan 1)

Fan 2
Row 4. Into 3ch space work (1dc 2ch) counts as first tr, 13tr (14 in all).
Row 5. Work (1dc 2ch) into first tr, work 1ch, 1tr into each tr of row 4. (= 14tr and 13 1ch spaces) TURN
Row 6. (Same as row 3) Working into 1ch space of row 5 make (1sc, 3ch, sl st in first ch, 1sc11 times. (This forms a picot). Into the next (12th space) work 1dc, then 3ch , and work 1dc into 2nd ch of first tr post of previous row. (This completes fan 2) TURN.

Continue in this way until you have made 6 fans (based on the book I am reading).

On last row make a picot in all 13 spaces.

To make the tassel cut a few threads each 20cm long. Fold in half and loop through starting loop. I include the beginning thread with this.

I then spray starch and iron to make stiff.


I used sock yarn, and my favourite crochet hook - the 2mm! I took me about 2 hours (on and off) to make it, perfect last minute present!


And all the time I was thinking of making a bigger - scarf - version of it! There's a thought... 

TIB Review {Knitting}

Friday, 1 March 2013

I have started knitting for Baby MiH - of course I knitted the Lutin hat - but now we are talking proper clothes knitting. I had to take the plunge after seeing him in his Debbie Bliss duffel coat. It was also the opportunity to review some of the baby knitting books I bought. And I think I found my favourite - Tricots intemporels pour bebes, by Astrid Le Provost - who is also the talented woman behind Citronille patterns (the website is in both French and English). 


I started by the brassiere raglan (I have some cute teddy bear buttons arriving soon!). It was also an opportunity to de-stash some sock yarn (as I don't actually knit any socks, I had to use it for something else). 


I am knitting in 3mm, which is rather small for me but I think I can handle it considering Baby MiH size. I have made a couple of modifications already - ribbing edge and stripes (inspired by this one). There are some other projects in the book that are just too cute - classy and timeless (well intemporels, like the name of the book suggests)


My first ever jumper for Baby MiH, so far so good. 


But I am dreading the construction already - some serious internet research will have to happen!

Lutin {knitting}

Monday, 28 January 2013

Baby MiH has a new hat, and it is my favourite one (probably because it is easier to put it on him, or because of the pompom). He even seems happy to wear it! This is a knitted one using my favourite variegated yarn, Zweger Garn Opal Hundertwasser. 

Baby MiH - the elf
I followed the pattern quite closely except that I cast on a few more stitches to make up for the thinner yarn (I cannot remember how many, sorry). The grey yarn is a sock yarn I found on sale, I knitted two strands at the same time. I also increased the width of the stripes as I knitted along, although I am not sure t really shows on such a small beanie. It looks shorter as well compared to the picture in front of the pattern but I could not wait to put it on Baby MiH, so I may have knitted less in the end. 


- Pattern: Baby Long Tail Elf Pixie Hat Knit Pattern 211 by Posh Patterns (bought on ravelry)
- Modifications: followed roughly the pattern, but because of the yarn used added stitches and also must have shorten the tail in the end
- Yarn: Light grey sock yarn and Zweger Garn Opal Hundertwasser.
- Needle size: 4mm DPNs
Result: I love it! It is really cute and also easy to put on, win-win!


The pompom is only made of Zweger Garn Opal Hundertwasser. I tried to arrange the colours so they all showed in the pompom - I really like the thickness of it. 


A very fun knit that it is easier to fit on babies'heads. It is probably more suitable for gifts than a crochet one - it is more likely to fit!

I also posted more pictures on ravelry