Showing posts with label tova. Show all posts

Love/Hate [Le Challenge] :: Sewing ::

Saturday, 14 February 2015


Le Challenge is back... and as per usual, I made it just...and in fact this post is really late.. But dots was the theme, and dots I give you! Let's start by the only thing that comes to my mind when I think about this project - this fabric did my head in, but I love this top. It was so slippery, I just did not control any of the sewing process - ok maybe I did a bit because it does look like the Tova it is meant to be.


Not sure I have a lot to say, except that this is my favourite make ever. It a Tova but without the collar, it is much more my style. I applied a light fusible interfacing to the placket, and finished with a bias tape (although I really need to redo this for a better finish). I also shortened the top a bit. It is a tad on the small side at the moment (to encourage me to diet better..?!)

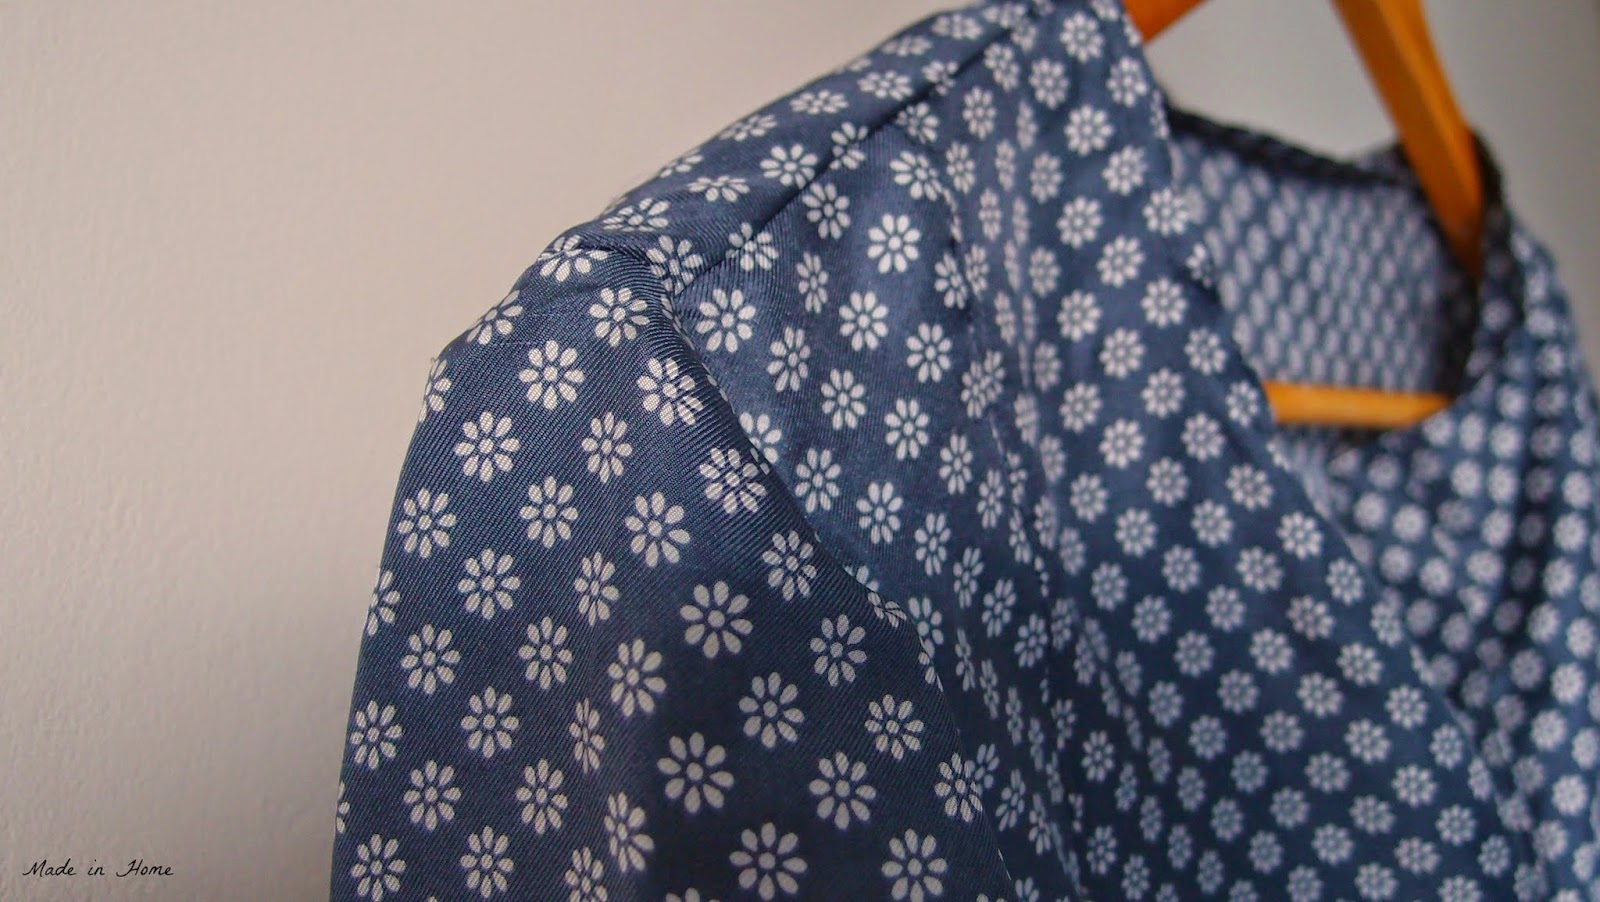

This fabric has been in my stash for at least a couple of years, and I have no idea where I got it from. I am surprised I actually like it on me, but that blue/grey really works for me - I suppose the dots/flowers add interest? 


Here you are I hated the process, but love the result - the perfect combination for Valentine's Day?!

Does 'dots' inspire you? Link in to le challenge here for a chance to win a voucher to the Fat Quarter Shop. 

The Pink Ethical Tova | A Finish {Dressmaking}

Saturday, 1 November 2014


I finished the pink Tova more than a month ago - but I was waiting for the pictures from our family photoshoot to arrive to share the result with you. There are a few more pictures in this post than the usual but if you have a very talented photographer taking pics - you want to make the most of it. 

You may notice that this Tova is pink - and I hate wearing pink. I am going to put it down to being pregnant and wanted something new. The (very loose) inspiration for this top is this shirt pinned on my style board on Pinterest


The Tova pattern is a great maternity wear pattern if you modify it slightly. All the modifications were explained here; I added another couple of inches at the bottom for more comfort (I was 7 months + pregnant at the time of the pictures).  


The embroidery pattern was larger to start with - but when I started cross-stitching it looked really weird, so I halved my pattern. I have it down somewhere if anyone is interested. It is not that complicated - except that I was for the whole time worried the two sides would not match. 


Of course I used the waste canvas method - I did say yesterday that I was cross-stitching everything! 


The fabric is my first purchase from the Offset Warehouse - an online fabric shop that stocks a wide range of ethical fabrics, trims, haberdashery and paints - and is based in the UK. 

I wanted a lightweight fabric and found this pink handwoven chambray (at £7/m it is quite good value as well). It was great to work with, and it is lovely to wear. The only thing is that I tend to wear this Tova a lot - and because it is hand woven, the weave is not as tight as for other fabrics - and it shows at the underarm seams. But it is not major. 


If you would like to buy ethical fabrics in the UK - this is a great place to start - for dressmaking of course.. 


I am so please with both the shirt and the pictures! My friend Debs Ivelja is a great photographer (worth checking out her website/facebook page). And you get a little snippet of where we live too! 

Also did you read Mr X Stitch post on Le Challenge this month - and his views on arts vs craft, even if you don't want to join Le Challenge it is worth a read. The theme this month is x and the winner will win a $25 gift certificate to the Fat Quarter Shop and your choice of 25 close ended zips from Rickety Rose Crafts! 

PS: I love Baby MiH top, it is ethically made by Tootsa McGinty

Serial cross-stitcher | Soluble versus Waste canvas {Embroidery}

Sunday, 12 October 2014


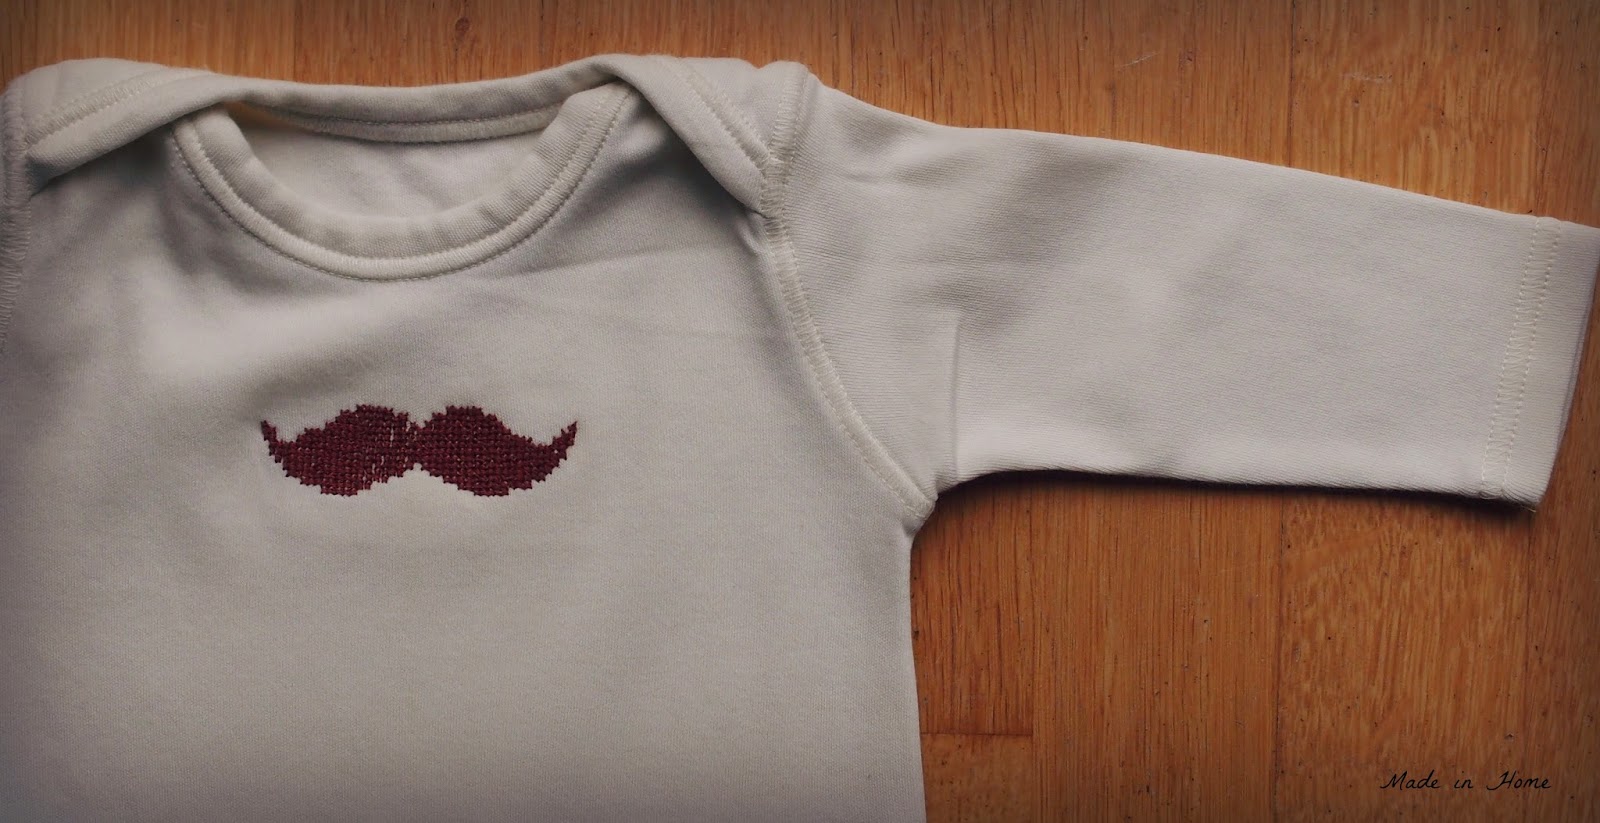
It took me a while to start cross-stitching outside the comfort zone of the ready-made canvases - but once I started there was no stopping me! I have now cross-stitched felt (you can see how with my boxy pouch tutorial here); a baby vest; and a new top! And I am already thinking of the next project - probably some Christmas cross-stitching on random pieces of fabric or felt I reckon. 

I may be a serial cross-stitcher but you can be too - thanks to the wonders of soluble canvas or waste canvas. I used both (soluble canvas for the felt pouch and waste canvas for the tops) and both techniques work. 

I like the soluble canvas method a lot - it is really easy to cross-stitch, it is really easy to get rid of (as in put it into water and leave it to be). However it is quite expensive - for the square you get (you should have seen my face when I opened the packaging) - and it comes only in the one size (from what I could find), so not big project allowed. 


The waste canvas method is a bit more cumbersome (I bought mine here). First of all you have to work out why the hell there are so many holes in the canvas.


You are supposed to cross-stitch through the little holes. It was easier with my top because I did it over 2 squares, it does not look as consistent on the baby vest top though. 


Then, there is the issue of getting rid of the canvas - it takes a bit of time (no leaving it in the water and wait for it to do its thing!).

Yes, people you have to take each strand off, one by one - hours of fun, right-there (ok it is actually not that long, but still a bit tedious). You are supposed to do it with tweezers, and yes it is easier to do it with tweezers. You have to be careful not to pull too much, otherwise the cross-stitching may move. Arggh!


However it is cheaper and you can buy the waste canvas by the metre, and it does do the job perfectly well. For the baby vest top, there are a couple of more steps to take, you have to add muslin fabric behind so that the jersey does not get distorted - I followed this tutorial.  

So what will you cross-stitch next? 

Maternity Wear #1 - the TOVA | A finish {Dressmaking}

Thursday, 10 July 2014

Here is the full Tova post that explains it all. Unfortunately I am not going to impress you with wonderfully clever modifications to this pattern to work for maternity wear. It was really easy to make it work for my bump, which I suppose is a good thing as the last thing I can/want to do at the moment is making some weird mathematical schemes to change a pattern. 

And all the credit goes to the pattern - which is well-written and with an interesting construction - without being too complex (the front and the back are cut on the fold). To be honest the limited number of pieces worried me around the bust area - which is doing its own thing at the moment - I was wondering whether it would be too lost or too tight.


Although it does not appear in this post (I did post on IG), I actually made a proper muslin for this pattern. Not wearable at all - a proper muslin just for the sake of understanding the construction and whether it would work on me, what a concept! There are two things that became really clear: a dress would not work on me (it looked so wrong) and that the fabric needed to be light-weight because of the amount of gathering involved at the front. 


The amount of gathering seemed adequate from the start (I made a headstart by reading other bloggers' experience), and the top should see me through my pregnancy for at least another 2/3 months. 


As I am destashing, I had to use fabric from my stash. I am so happy I actually bought fabric that I liked, otherwise project destash would be a right nightmare. You will have already recognised the fabric - Nani Iro Spring 2014 collection, 100% cotton double gauze that I got from Miss Matatabi. 

I made a huge (well probably not huge, but huge for me) Nani Iro order, so expect more Nani Iro to appear in my project destash. 


I made a few modifications to the pattern, but only one to adapt it for maternity wear and that is to add 8 inches to the gathering piece (so 4 inches on the fold to the pattern - I basically added a rectangle to the pattern). In terms of size, I did the L (12/14 in the UK) - one size bigger than my normal size - but once I had done the French seams, it is probably a big M/small L (10/12), so my normal size. 


Other modifications made were:

  • to make a slimmer placket (from 1 inch recommended by the pattern to 3/4 inch)
  • to shorten the sleeves by 2 inches
  • to take in 2.5 inches from the bottom of the top ( I kept the length in case out of proportions like with my first pregnancy)
  • also I had issues with the collar when I made the muslin, so added an inch on each side to the collar pattern to ensure I have enough fabric to cover adequately the collar (this may be a problem because of the fabric I used for the muslin)
  • And I used French seams everywhere except on the side. I love French seams! 


The finishing is really what makes this top so special - and I received a lot of compliments (at work and from friends) - probably the combination of an interesting fabric and a well fitted garment. 


And in case you are wondering how long I could wear it, I asked the wind just to show you how far and wide I could go. I am looking very impressed! 


I am wearing; handmade top; my friend's pregnancy jeans from H&M; 
Pikolinos shoes seen here; sunglasses, Tiffany's from a long time ago; 
necklace, thrifted (one of my best purchases) 

You can find Michelle's modifications here if you are not pregnant (so nearly all my readers right!) and would like to know more about the dress version. 

Also I have to tell you a very random fact, nerdy sewer that I am, French seams are translated as English seams in French. Amazing! 

Can normal sewing patterns work for maternity wear?

Monday, 7 July 2014

This question was never intended to be what these posts were about. The original idea was to sew 'together' (that is virtually as we are on different continents) - and learn from each other. We have similar height and shape - and therefore similar issues with patterns (bum, hips mainly). Fast forward three months from the original idea, a little adapting had to be done - to accommodate a (fast) growing bump. 

So the aim is still to sew the SAME normal pattern, but the choice is probably more limited as we have to be able to adapt for maternity wear. In between the posts, we email each other of course talking about the process, what we learn, how we get on, modifications we are considering but also potential new patterns we should try. We will probably post one post together with our final garment, and another one explaining the modifications made to adapt them to our current shapes. 

Our first pattern is the TOVA from Wiksten. The patterns has already been adapted by pregnant sewers a few times, so we knew it was possible - a safe bet. 


And as expected it works for both of us, with a minimum of modifications to be honest, and without changing the look/shape of it. It is an easy to wear top/dress, full of beautiful finishing touches. There are a couple of tricky sewing points (attaching the front and the collar mainly). 


You can find Michelle's blog here
It is of course a shape that works very well for our shape - a A-line top with good proportions, a nice neckline, and it is really super comfortable to wear.It is a simple tunic, a gathered yoke and gathered 3/4 length sleeve - that can be easily adapted to any style. 

This is both our first time sewing Jenny’s patterns. We already talked about finishing details but the attention to them is amazing: the way she finishes hems & cuffs for instance. Her design feels refined and it felt like we were making high quality garment as we worked through her instructions.


We would rate this an intermediate pattern - there are few tricky bits and a lot of finishing to do, especially if you go for French seams as we did. However it is quite a quick sewing project to get a top that will always be a classic shape in the end. We can definitely see more Tovas in our future! 

Have you made a Tova? What was your experience? For our own modifications, check out our blogs in the course of the week! We have chosen our next pattern, now comes the choice of fabrics - always an exciting part!