Showing posts with label DMC soluble canvas. Show all posts

Serial cross-stitcher | Soluble versus Waste canvas {Embroidery}

Sunday, 12 October 2014


It took me a while to start cross-stitching outside the comfort zone of the ready-made canvases - but once I started there was no stopping me! I have now cross-stitched felt (you can see how with my boxy pouch tutorial here); a baby vest; and a new top! And I am already thinking of the next project - probably some Christmas cross-stitching on random pieces of fabric or felt I reckon. 

I may be a serial cross-stitcher but you can be too - thanks to the wonders of soluble canvas or waste canvas. I used both (soluble canvas for the felt pouch and waste canvas for the tops) and both techniques work. 

I like the soluble canvas method a lot - it is really easy to cross-stitch, it is really easy to get rid of (as in put it into water and leave it to be). However it is quite expensive - for the square you get (you should have seen my face when I opened the packaging) - and it comes only in the one size (from what I could find), so not big project allowed. 


The waste canvas method is a bit more cumbersome (I bought mine here). First of all you have to work out why the hell there are so many holes in the canvas.


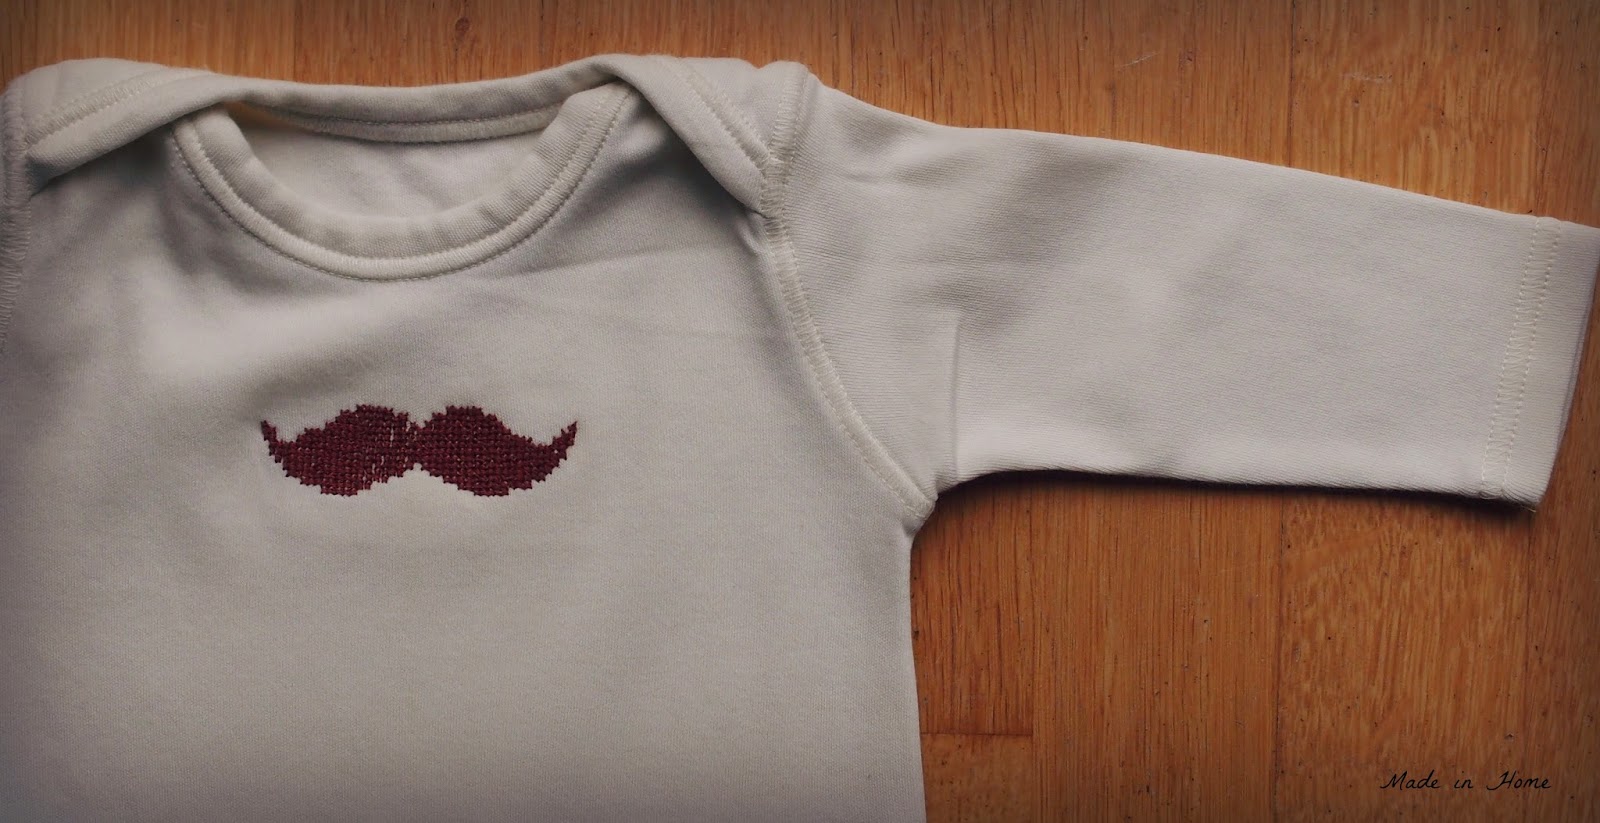
You are supposed to cross-stitch through the little holes. It was easier with my top because I did it over 2 squares, it does not look as consistent on the baby vest top though. 


Then, there is the issue of getting rid of the canvas - it takes a bit of time (no leaving it in the water and wait for it to do its thing!).

Yes, people you have to take each strand off, one by one - hours of fun, right-there (ok it is actually not that long, but still a bit tedious). You are supposed to do it with tweezers, and yes it is easier to do it with tweezers. You have to be careful not to pull too much, otherwise the cross-stitching may move. Arggh!


However it is cheaper and you can buy the waste canvas by the metre, and it does do the job perfectly well. For the baby vest top, there are a couple of more steps to take, you have to add muslin fabric behind so that the jersey does not get distorted - I followed this tutorial.  

So what will you cross-stitch next? 

Embroidered Boxy Pouch | Le Challenge

Sunday, 14 September 2014

*For your last chance to win one yard of organic cotton fabric dyed naturally
please make sure you enter the giveaway here*

When I showed my finished le challenge project this month, Mr MiH said, oh look you made another boxy pouch. Yes, I did dear, but this one is special. I added the embroidery, it is felt, can't you see? 

So yes, this is my third boxy pouch - following the steps (but not measurements) of the Kelbysews tutorial - adapted to felt. And it is my le Challenge entry (the theme is era - and the interlining fabric is one that I got from Mary's vintage sheet swap). 


To make your own embroidered boxy pouch, you will need:

- 2 pieces of embroidered felt (tutorial just below) 
       I bought this one measuring 30 cm by 45cm
- 2 pieces of medium-weight interfacing of the same dimensions (30cm by 45 cm)
- 2 pieces of coordinated fabric of the same dimensions (30cm by 45 cm)
- 2 pieces of felt measuring 1.5' x 5' for the side tabs
- a zip which fits with the longest side of the the felt pieces - mine is 14'
- matching thread 


To add the embroidery on felt (or any other fabric), I used some DMC soluble canvas (which is actually quite expensive for what you get, so I am now trying to use waste canvas - I will let you know how I get on). 

To make this embroidery (but you can make whatever pattern you fancy of course) - I marked the middle of the felt pieces.  


Baste the soluble canvas cut to size (making that little square you get last!) in place. It is great way to keep it place, it is a bit annoying to unpick after the cross-stitching is done, so may be better to go for longer stitches. 


Do it on both sides. 

And let the cross-stitching begin. You use the soluble canvas as a normal canvas. I used three threads of DMC thread, I chose (following an IG debate) to go for matching the thread to the vintage interlining fabric. 


Follow the instructions to dissolve the soluble canvas - it works! Et voila! You are ready to make your pouch! You  may find the felt has shrunk a bit, so look check out the pieces again to make sure they have the same size throughout the project. 

The main difference between my pouch and the Kelbysews one is that with felt you don't need to worry about the fabric edges and you leave them showing. It is supposed t make it easier to match the embroidery - but that did not work out as well for me (maybe next time). 


So you place the raw edge of the felt fabric interfaced next to the zip opening, and the interlining as you would normally on a boxy pouch. 


I like to baste everything before sewing with a zip - but this is a personal choice. 


Time to sew the zip into place (easier to open the zip to make neater ends). 


Press and you should end up with something like this (this is the inside)


Sew the two pieces together (the bottom of your pouch) - as you can see I had to make a neater edge. 


You then carry on with the pouch like recommended on the Kelbysews tutorial. 


Finally you have a brand new fancy boxy pouch! 


I love my boxy pouches, but this one is much boxier - because of the sturdiness of the felt I suppose and probably looks like what I had in mind when I started making boxy pouches. I suppose you could adapt the interfacing according to what you need/want. 

For all the other Era entries, go to Le Challenge - the link up party is now open!