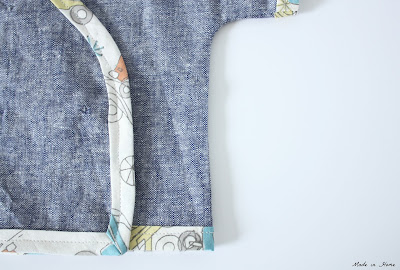
I seem to have to use bias tape all the time now that I started sewing garment. As Marit mentioned in her comment, you can cut the fabric straight for quilt bindings. This week, it will become clear why I needed a 1/2 inch bias tape. And if you too need some that matches some fabric, here are a few tips that I hope you will find useful. I don't have a bias tape maker - I may be tempted to buy one at some point though.
I am not sure I chose the easiest printed fabric for this, but I wanted this mix of colours. The fabric is from M is for Make, in the Birch Circa 52 collection - called 'cars in cream'. With a fat quarter of the fabric, I made 330 cm of 1/2 inch tape.
How to make your own bias tape?
Keep the selvedge edge (on the right hand side), and trim the other sides of the fabric.
Cut out diagonal strips (at a 45 degree angle) of 2 inches (or four times the width of your bias tape)
Although your first reaction may be to line the edges flush with each other, you should not as I will show you later. You need each strip to overhang a bit and make a 90 degree angle with each other. The strips should end up overhanging about 1/2 inch.
This is a good example of me getting it wrong with the overhang
That is much better now - and the overhangs are clipped off.
Now here is the point when a bias tape maker would have been quite helpful (as these fiddly steps would not have to be there)! Fold the 2 inches tape in two to make a 1 inch tape.
Even trickier with the iron, fold the inch sides into two 1/2 inches towards the centre
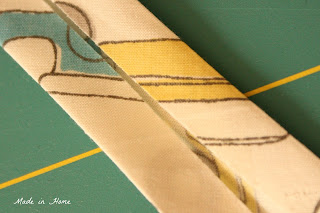
And here it is a 1/2 inch bias tape.
Hope you found it useful and ready to make your own bias tape!


