Showing posts with label Etsy. Show all posts

Christmas frenzy :: Knitting ::

Wednesday, 9 December 2015

* You can still enter my current knitting pattern giveaway here*


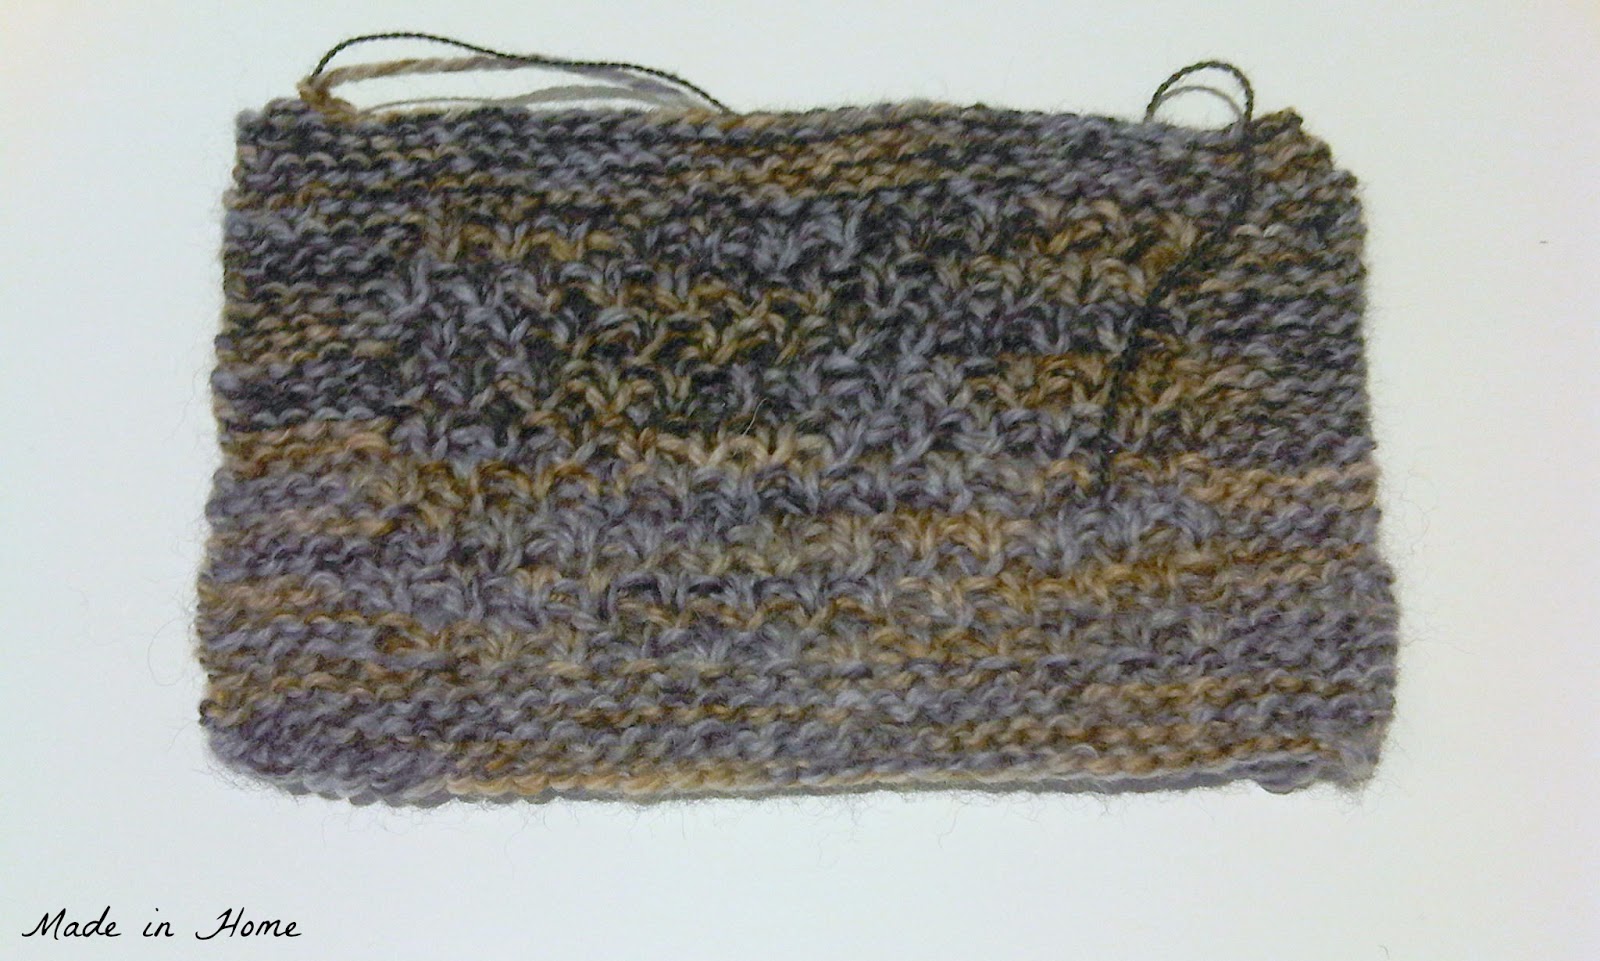
Happy Wednesday everyone! Well, I am knitting non-stop, or it feels that way. I should really be finish projects I have started - including this bowtie scarf (someone's request) - except that I am starting new projects rather than finishing projects. So I am knitting a few projects at the same time, thankfully there all involve garter stitch and the patterns are easy to follow. Still it is hard to choose one to pick up when I get some knitting time!

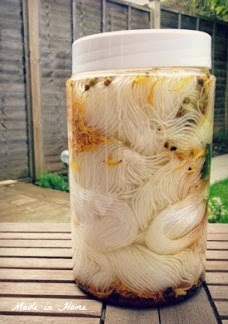
Also do you find that you have a lot of single sock skeins in your stash, or is it just me? I have many, and was not sure what to do with them. But instagram came to my rescue, and Masgot I had to knit. You need 3 different skeins of sock/fingering yarn! I love the shape of this shawl/scarf, it gives an oversized scarf look but can also be worn as a shawl. It grows width-wise very quickly. I wanted the shawl to be soft around my neck, and decided to use skeins that were a blend of Alpaca and Cashmere. I bought the skeins on Etsy from here and here - both shops are based in the UK. 


I hope I will be able to give it as a present - and not keep it, otherwise I will have to start yet a new project! Also I'd better be getting on with more knitting, if I want a chance to also fit in a beanie hat for Mr MiH's Christmas. 

What are you all knitting? I am linking up to Ginny's today. 

Natural Dyeing | The Result

Wednesday, 17 September 2014

I think I am a convert to natural dyeing. I did not know what to expect when I started or during the process for that matter. But I am in love with the result. Look at the shades of yellow and brown throughout the yarn, it is subtle but will add a lot of interest. 


I am not going to lie, it was not the easiest process to wash away all the natural dyes stuff I used, and even though I tied the skein together it was not as easy to put it around my yarn winder (I should have tied it in more places) - but I only had to cut the yarn in one place, that's not bad going. But clearly a few things to think about for the next time, because there will be a next time

I am now knitting this - yes I have many WIPs already, but I could not resist, I just had to know what it looked like knitted! This is the beanie hat pattern I have chosen, expect a finish soon (or not as I am knitting in 3 mm, not my most favourite size). 

To see all the other WIPs, head to Ginny's yarn along

I got my kit from Spin City UK if you too are interested in trying it out. 


The WIP before the WIP | Natural Dyeing

Wednesday, 3 September 2014

*For a chance to win one yard of organic cotton fabric dyed naturally
please make sure you enter the giveaway here*

Natural dyeing is something I have been wanting to try for a bit of time, but I had no idea how/where to start - and what was required of me. I have dyed wool (quite successfully) before, but not using natural dyes. As my readers will know I am totally committed to find organic and naturally dyed craft supplies - and of course one way to do this is actually do it myself. Easy to say... harder to put into practice. 

I have been really impressed (jealous?) by Liesl who has had amazing results with natural dyeing, but every time I was wondering how I would manage to do this without Baby MiH going straight into the dye bucket, and in fact how to find enough of the natural dyes.  


 So when I found a natural dye kit on Etsy (from a British Etsy seller as well), I jumped at the opportunity to try natural dyeing without too much effort on my part. The kit contains the plastic jar (reusable) that you can see, the mordant, three natural dyes and the yarn (an organic merino blend sock yarn, around 400 yards of it). 


I chose a brown/yellow dye kit as with the Autumn coming, these will be the colours I am going to be drawn to most probably and want to knit. Also I figured that it should go with any pattern I chose to knit - I am wondering if it will be my first pair of socks or maybe a beanie hat and mittens...  


I opened the kit last Friday, and I know there are a few pictures here, but it took probably only half an hour to make it all - the longest part being to separate the skein into two equal parts to (hopefully) get a variegated effect. 


And this is the colour I am seeing at the moment, the bottom is definitely more brown - so it should be interesting to see how it comes out. And this is one big lesson about natural dyeing, I have actually no idea how it will come out - I know the general colour scheme but not how it is actually going to look like once knitted. 

On the instructions you are advised to leave the dye to work for at least 2 weeks - but I am already desperate to just open the pot and see how it is. However I do have a lot of WIPs going on and I have decided that I will leave the jar to rest until I have the capacity to start a new knitting project (so that is probably in 4 projects' time) - and who knows how the colour will be then. How exciting!  I can see why it is so difficult to find companies that do natural dyeing on a larger scale though. 


To help me through the process of naturally dyeing, and try to have more certainty about what is going I have bought Wild Colour by Jenny Dean. At the moment I am using it as an inspiration guide, and have not gone out to actually find the natural dyes. But I am really excited about this part as well. 


It will be fun to try to identify the plants in the wild and experiment with the flower, leaves and stems. 

I know some of you have already tried naturally dyeing, how did you find the process? Will you try again? 

Linking up to Ginny's today

Ojo de dios {For my home}

Wednesday, 6 March 2013

I have not been as excited as I am right now about a tutorial - all because of this How Tuesday on Etsy. I have decided that Baby MiH's room needed one. It seems to be also the perfect stash burster for my sock yarn - win win! 

I could not wait to show Mr MiH, he was suitably impressed although told me that of course I would like it as it is all about geometrics and symmetry. Hmm, I am that predictable then. 
You will make this one
In theory, reading through the tutorial, it seems to be accessible... Looking at the end result, I am not so sure it will be that easy. 


Jay Mohler, the one who wrote the tutorial has an Etsy store, and you can see some of his amazing makes. So much inspiration in terms of colours, and patterns. 

 Cannot wait to have my own! 

All Sets {Sewing}

Tuesday, 11 December 2012

Baby Report (D-Date + 9, French D-Date + 1): nothing, but apparently we are in the right direction. So still time to finish off some of the nagging little tasks I had on my list, and use up some leftovers of the terry cloth I used for the hooded towel.

We decided not to buy a baby changing table. It is more a question of place than money, and also height. It is not easy to find one for a 6'2 man that will also be good for a 5'2 woman. Sounds silly but you have to think of those things now and not in the middle of the night. We bought a cheap, plastic-y and gross good value changing mat that fitted perfectly on top of the chest of drawers we have in Baby MiH's room - a good height for the both of us (as in a wee bit too high for me and a wee bit too low for Mr MiH). The chest of drawers needs to be updated but this is a totally different project for another day. As mentioned said changing mat needed to be covered, and with a sort of towel - vintage style. 


70s mirror from Mr MiH parents' attic and we need a picture of Baby MiH in one of the frames
I go through phases when it comes to buying lines of fabrics. And I went through a vintage phase. I needed some 70s vintage fabric in my stash. I found a shop on Etsy and bought some - very excited indeed. However when it came to doing something with it, I was not sure anymore. I have quite a modern approach and I could not deal with the pattern.. Except if the pattern was not the focus...  and was to become a large binding? 


It was indeed perfect for the changing mat towel. I was ready. I made a one-inch binding so you can see the dogs and some of the character, and a couple of wash cloths. There is no stopping me!


The mat

I doubled the thickness of the terry cloth so that Baby MiH could not feel the plastic underneath his little bottom. 

With some of the owl fabric I had left, I managed to make a couple of wash cloths to match the hooded towel and a very French wash cloth as well - we are all set for bath time now! 


The wash cloths are so easy to make, they are the perfect last minute gifts - of course you need some terry cloth though and that might take a wee while longer. 

If you have not done so, there is still half an hour left until the GIVEAWAY ends. Good luck to everyone who participated! I am so happy you liked the knitted baubles! Cannot wait to see them decorating one of my followers living room!

Shades of Grey {knitting}

Tuesday, 6 November 2012

Apparently as part of my hospital bag I need some baby blankets, probably going to be freezing when we get to leave - so the pattern that had been left untouched for months in the hobby room is out and yarn was bought. Baby blanket we need, baby blanket we will have - and Jared had the perfect pattern calling for Vintage Texture - well I am not one to resist vintage, am I?

**Also don't forget to enter my giveaway - open until Friday evening**. 


According to Jared, the skill level required is beginner/intermediate. And I suppose it is, but those SSSSK (yes that is 4 Ss) and K4TOG ... well they are testing my patience. At least they are knitted only every 4 rows, so I have 3 rows to get myself ready for another row of them. 


I love how the wave this forming by itself


PatternShale Baby Blanket by Jared Flood
Yarn: Hand dyed organic merino silk wool, light worsted DK yarn from SixSkeins (Etsy)
Needle sizes: 5.5 mm circular
Size: Baby size


I love this yarn, I wanted an organic worsted yarn for Baby MiH (nothing is too special for him of course!), and it is so soft, not scratchy at all - pure bliss to knit. And the hand-dye is adding to the texture of this beautiful pattern. 


Anyway 3 repeats done, another 54 to go...

Alternative to Nesting {knitting}

Tuesday, 23 October 2012

A lot of work has been done for Baby MiH - not only decorating the room, but Mr MiH is also making his own contribution, as in building a shed - like from scratch. Now that something has actually emerged from the grounds (yesterday's big news) I will keep you posted on progress. Before you call social services however, this is not to be Baby MiH's room but our office/hobby/sleeping/chilling out space. 

Even though I enjoy all this nesting, I needed a project for me, and after hours of some Ravelry research I found the perfect knitting pattern: the Contemporary beanie hat by Veera Valimaki. I love Veera's designs, even though I have never actually knitted one. And this one seems gorgeous. 


Pattern chosen, next is the yarn. I am still on my stash busting drive (and this is why I just bought 3 new skeins of yarn).  The pattern calls for needles that are a bit small for my liking (3.0 mm and 3.5 mm) and some sport/5 ply yarn. Hmmm no sport yarn at mine... Small setback when you want to start a pattern then and there. What I seem to have loads of though is sock yarn - which is weird as I have never knitted any socks. Clearly I like the concept but not the implementation. 


I started with sock yarn only (bottom of the gauge). It looks good (purely because of the yarn though), but I found it quite thin and see-through, and thought it might not be ideal considering how the weather is turning to here (i.e. grey and cold). How to make a 5-ply, well I did have even thinner yarn, some laceweight yarn/2-ply in black (double stash busting, hooray). Finished the gauge - and it fitted with the recommended gauge (phew!) and looked nice - Result!


All I had to do was to knit 5 cm of garter stitch - which incidentally takes forever in 3.0 mm circular needles, but somehow looks much better than with bigger needles. 


Pattern: Contemporary Beanie Hat (there is a cowl pattern included as well)
Yarn: Variegated Merino Tweed Sock Yarn 100g from Whaferdale Woolworks) and 
Laceweight yarn in black from The Gossamer Web
Needle sizes: 3mm circular (brim) 3.5mm circular body of the hat
Size: hopefully fits my head.. (had a little try yesterday and it was fine)


Started the body of the beanie hat now, so I am going to juggle the pattern stitch (which I assumed to be the stitch used for the back of the hat on the picture) and cable work. So hopefully my frizzy (and surprisingly voluminous) hair (thank you pregnancy) will now get tamed under a beautiful hat. 

Linking to Tami's Amis on Wednesday

Of the manly kind {sewing}

Friday, 17 August 2012

The passport wallet is done. That took nearly the whole of the closing Olympic ceremony to finish it off (you know the one that was never ending). And I love it!


The different fabrics I used are as follows: the 'newspaper' fabric is from the Etsy shop of Stefaniexu, the blue one is Lotta Jansdotter's Ruta in navy (I love her range) and the third one is from the Washi range designed by Rashida Coleman-Hale (Star flower in charcoal). So basically some of my favourite designers in a wallet!


I loved making the wallet. Firstly the pattern from One Shabby Chick is brilliantly written with loads of pictures - just in case you are a bit confused with just seeing written out (or not reading the instructions). Then I learnt a lot from it. I have not that much top stitching before - and it was  a great exercise. I loved how the binding of the wallet was done, I found it so clever. I did change the closing with a big press stud - because that is all I had handy at 11pm. 


The only thing I would do differently is that at some point I had to stitch through many layers of fabrics (I think 6). After talking to Kelly, it seems that I should have changed the size of the needle (it may have written in the instructions to be fair,but see point on reading instructions). Anyway I would not have the energy to do it. If you have the energy, do it - change the needle when it comes to top-stitching the whole thing, it will look better.


All in all a very interesting project, that happens to bring something useful to the house - we actually know where our passports are now (except that I have not found the British one still) - very useful! So you remember that I had Mr MiH in mind in making this, and that it needed to be manly. I am not sure Mr MiH agrees it is manly, but is happy to carry it. Result!